Overlays for Framed Photo Products
Our editor allows us to add an Overlay so that users get a complete WYSIWYG experience when choosing photos, cropping them or adding captions.
The brown wooden frame you see in this Editor screen of our native app is known as the Product Overlay.
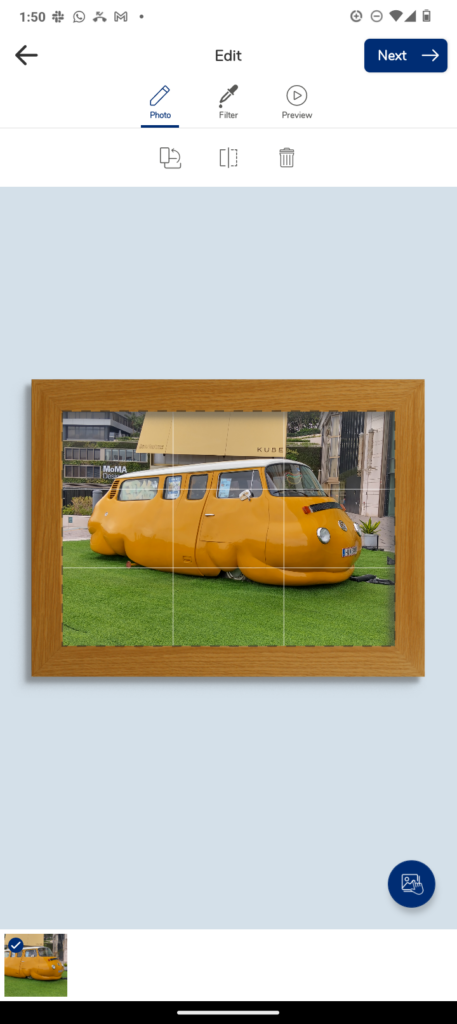
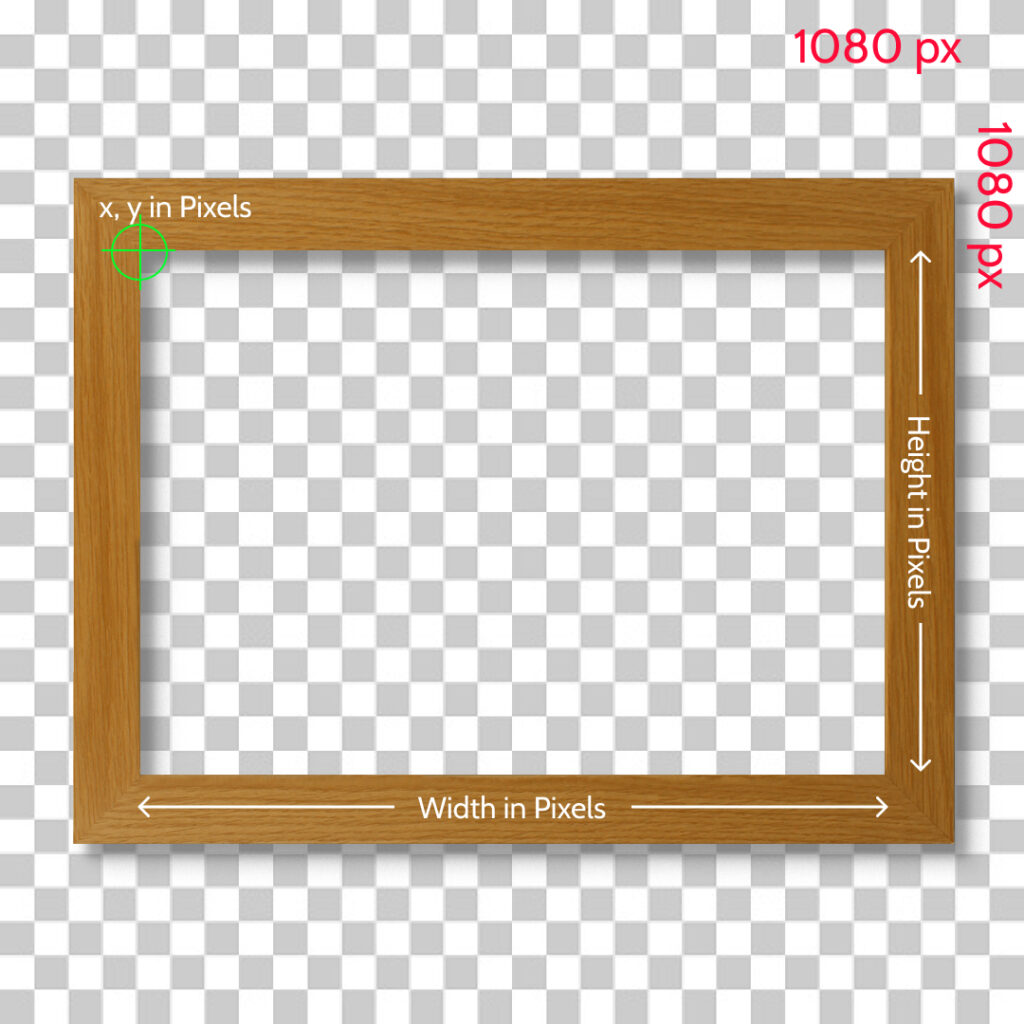
TIP: Remember to add shadows to give it some heft. Make sure your shadows are consistent with the lighting in your Preview image background.
Whilst we want to maximise the user’s photo within the available real space, you will also not want to make the frame so wide that it touches the edge of the screen.
Fileformat: PNG
Size: 1080 x 1080 px
We also need to know the X, Y, W-width, H-height of the window within which the user’s photo will reside.
For Rotatable products like framed wall prints, you will need to create both the Portrait and Landscape version and supply the X, Y, W, H of each orientation.
Irregular shaped products
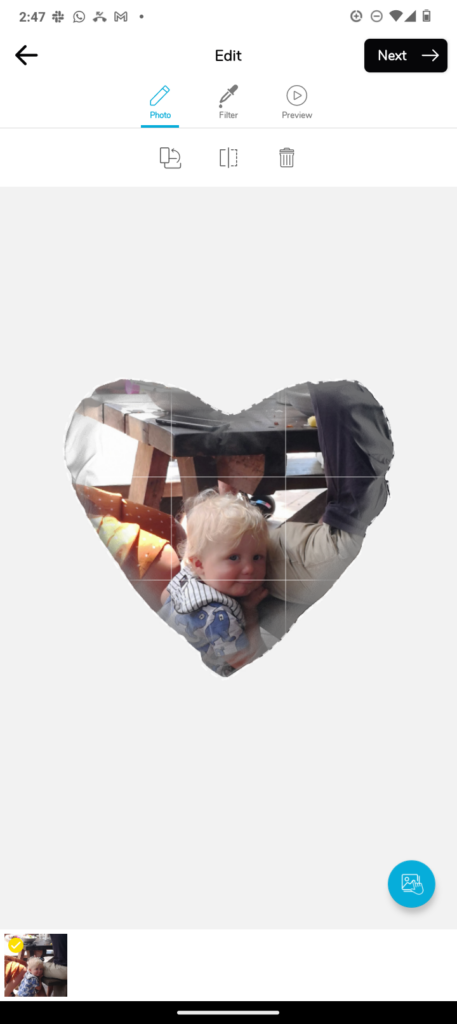
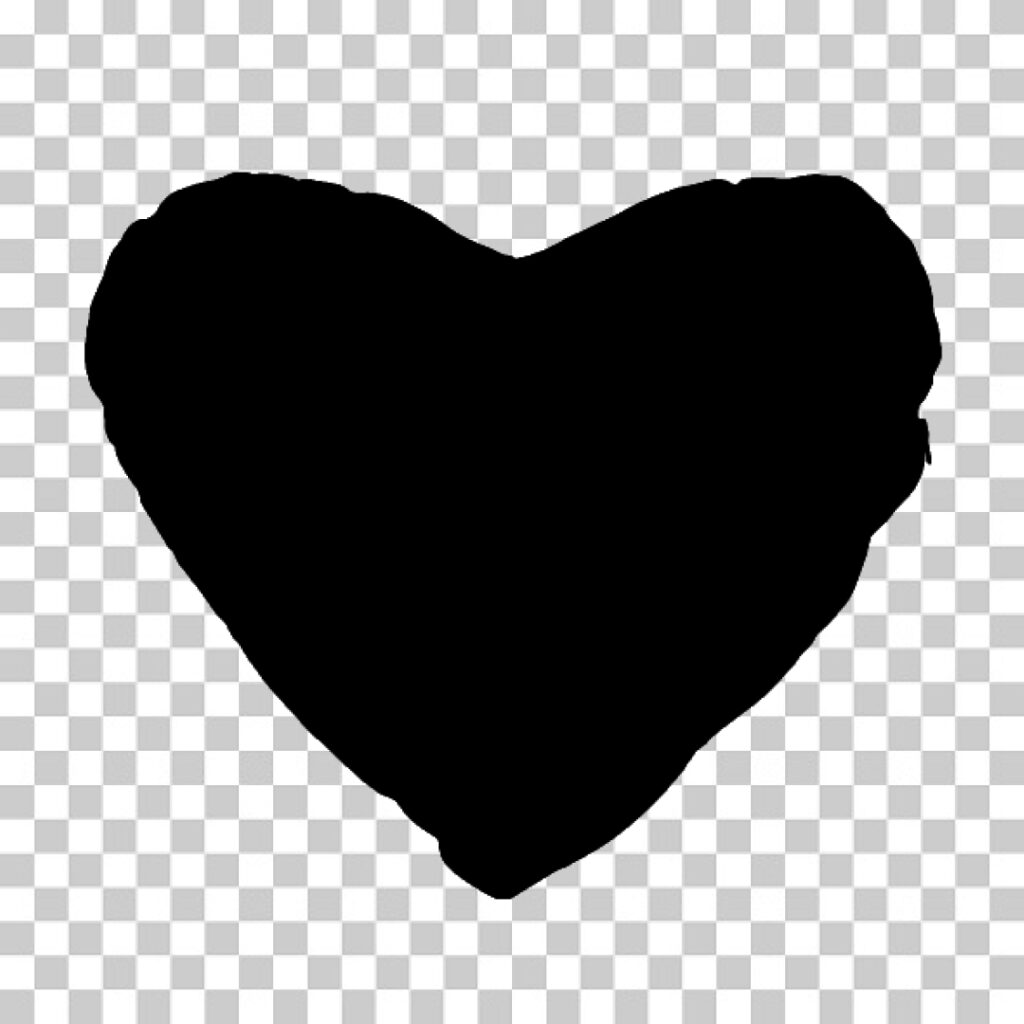
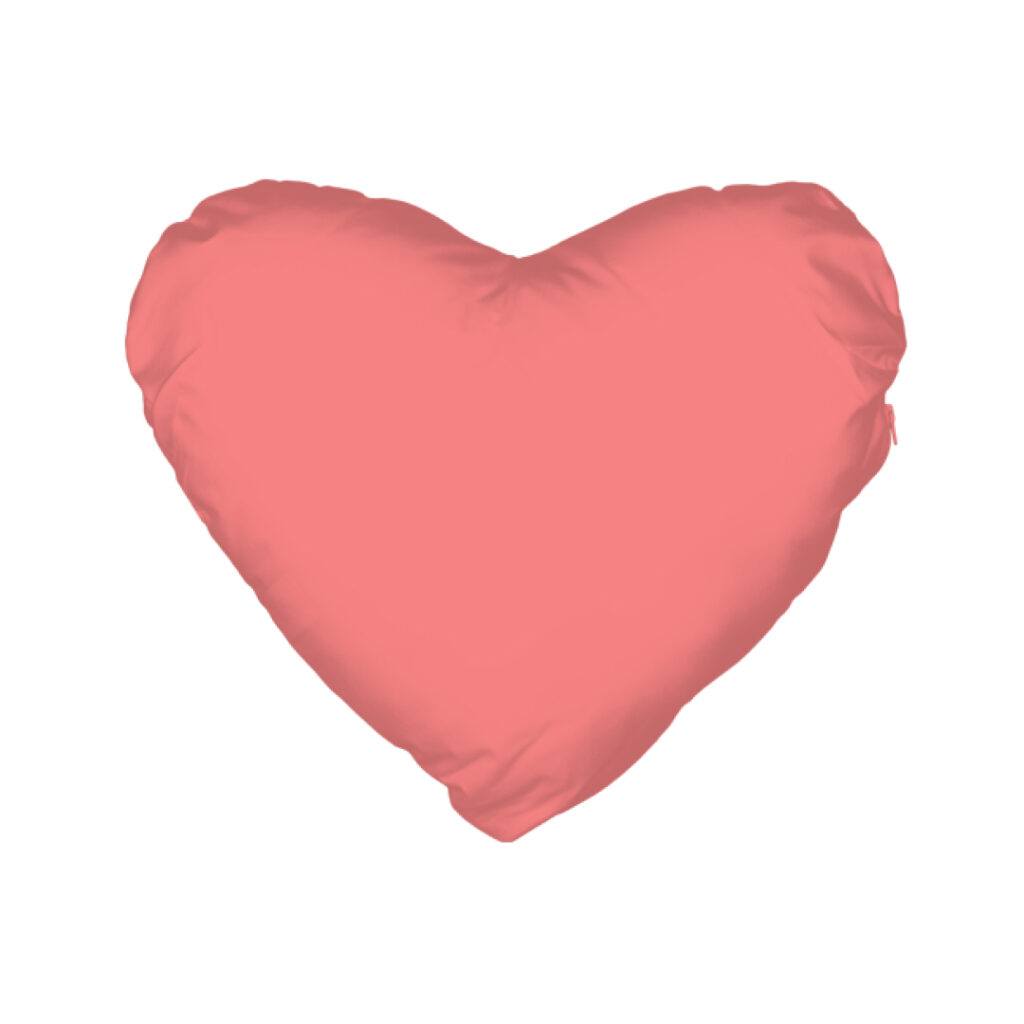
With irregular shaped products, you will also need to provide a mask of the shape. This is essentially the shape in full black #000000 with an outer size of 1080x1080px.
With fabric based products, you can make your overlay have an almost fully transparent layer OVER the space for the photo. This gives it a good 3D effect where you can see the folds and creases of the fabric. Making it more realistic, soft and huggable.
Jigsaw Puzzles
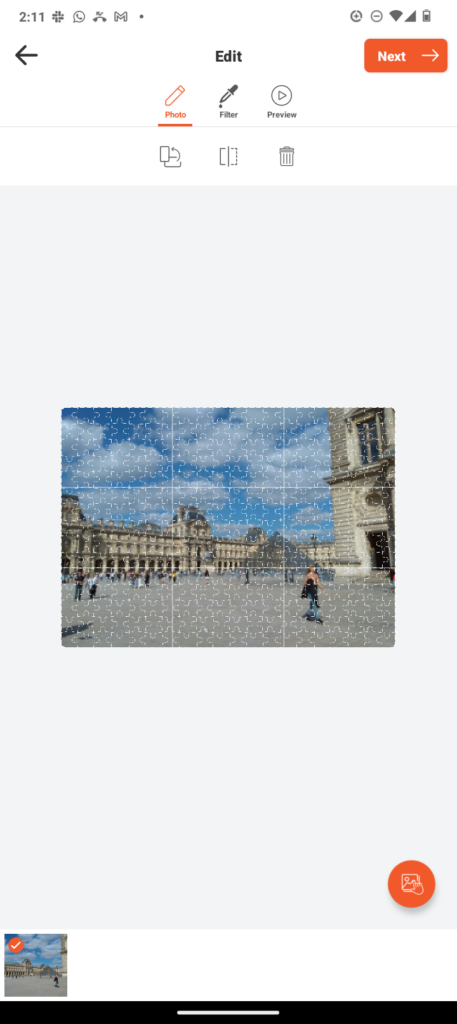
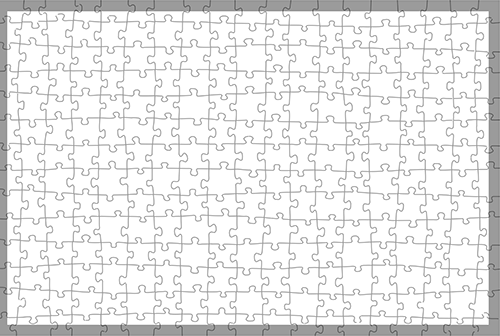
Jigsaw puzzles require an overlay which has those cut-out shapes as thin lines, and the rest transparent.
Overlays and Cropping a user's photo
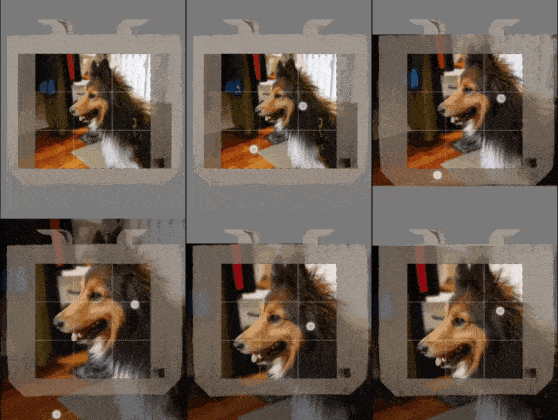
Users will still be able to unpinch and reposition their photos within this overlay as if it’s a regular classic print. When we detect a dual finger tap, your overlay will be rendered in 50% tranparency. This here is an example of a Jute Bag.

